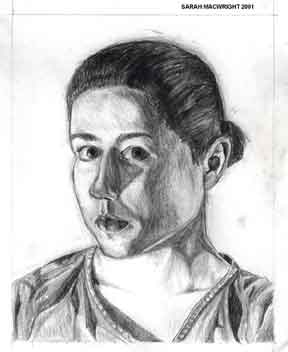
Draw yourself from direct observation by looking into a mirror. Use 1 strong light source from the side (use a desk lamp if possible). This will make it easier for you to draw.- Watch my video below to help you go through all the steps!
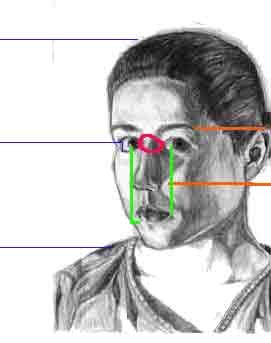
Most faces can be arranged according to general proportions. Not everyone is the same but these measurements can serve as good guidelines for your self-portrait. This will vary based on your genetics and ethnicity (and let's face it not many people are symmetrical).
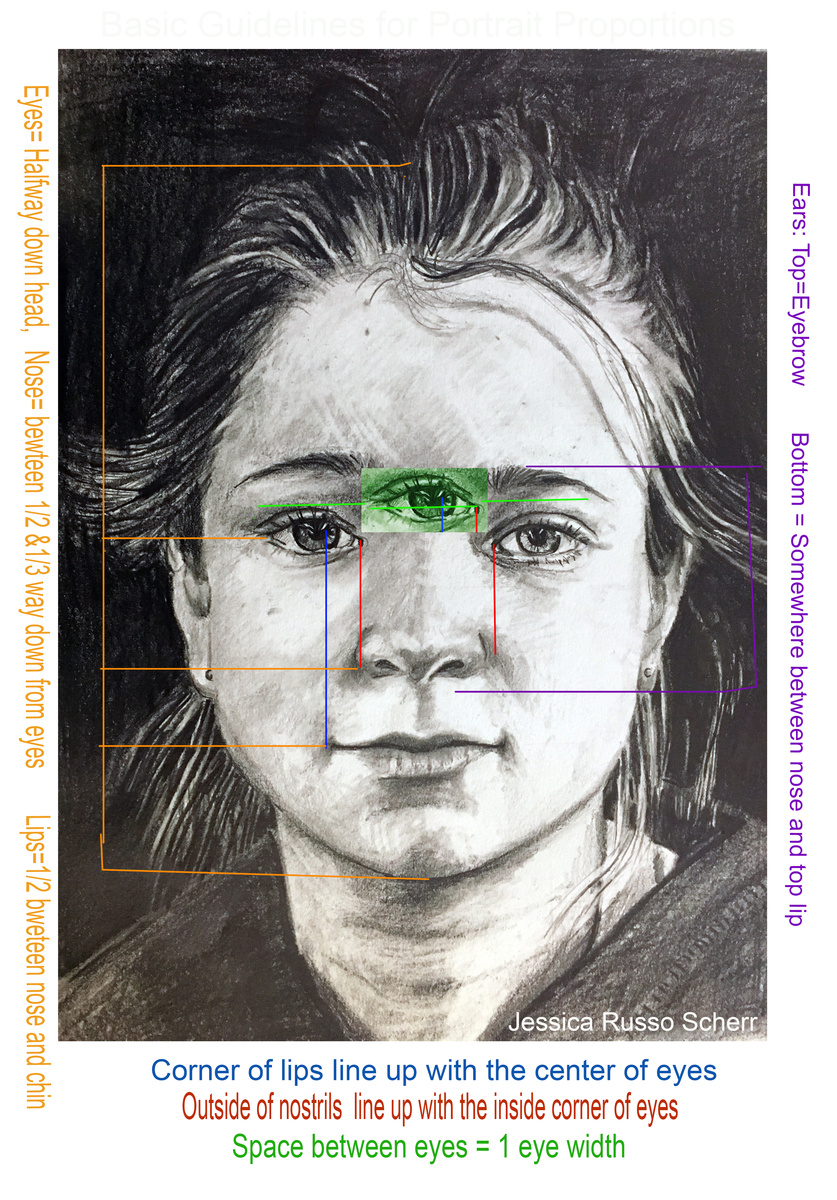
Compare the guidelines with the list below.
The eyes are about half way from the top of the head
The nose is slightly above half way down from the eyes
The mouth is about half way from the nose to the chin.
The space between your eyes is 1 eye.
The center of your eyes line up with the corners of your mouth.
Your nostrils extend to the inside corners of your eyes.
The top of your ear is at your eyebrows.
The bottom of your ear is at the bottom of your nose.
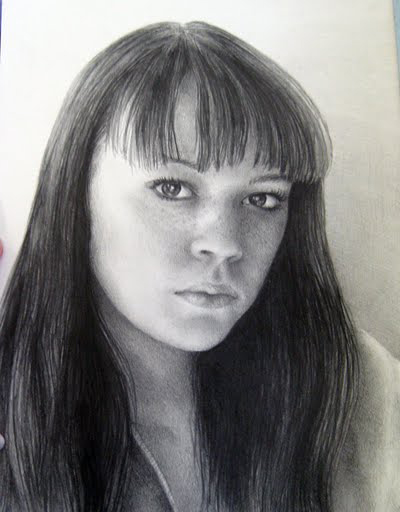
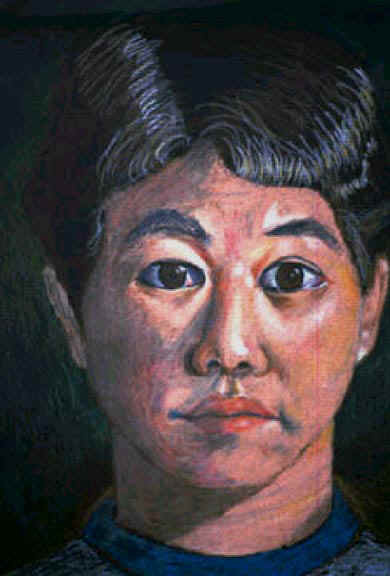
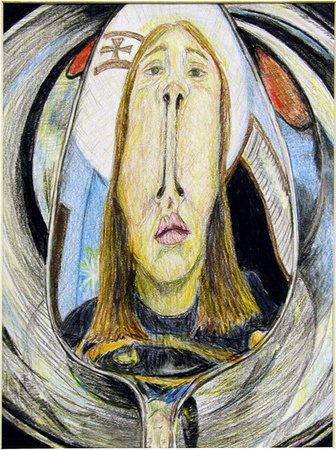
Here are some of my student examples
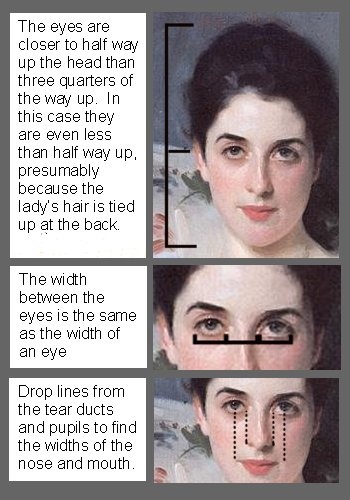
This is an example from John Singer Sargent. Unfortunately, I am not sure which book or how I came across this image. It shows how an artist employs this in an oil painting of young women.
Lady Agnew of Lochnaw (1864 - 1932)
National Galleries of Scotland
The confident gaze and relaxed posture of Lady Agnew (born Gertrude Vernon)
Depicted: Gertrude, Lady Agnew of Lochnaw
Materials: Oil on canvas
Object type: Painting
Date created: 1892